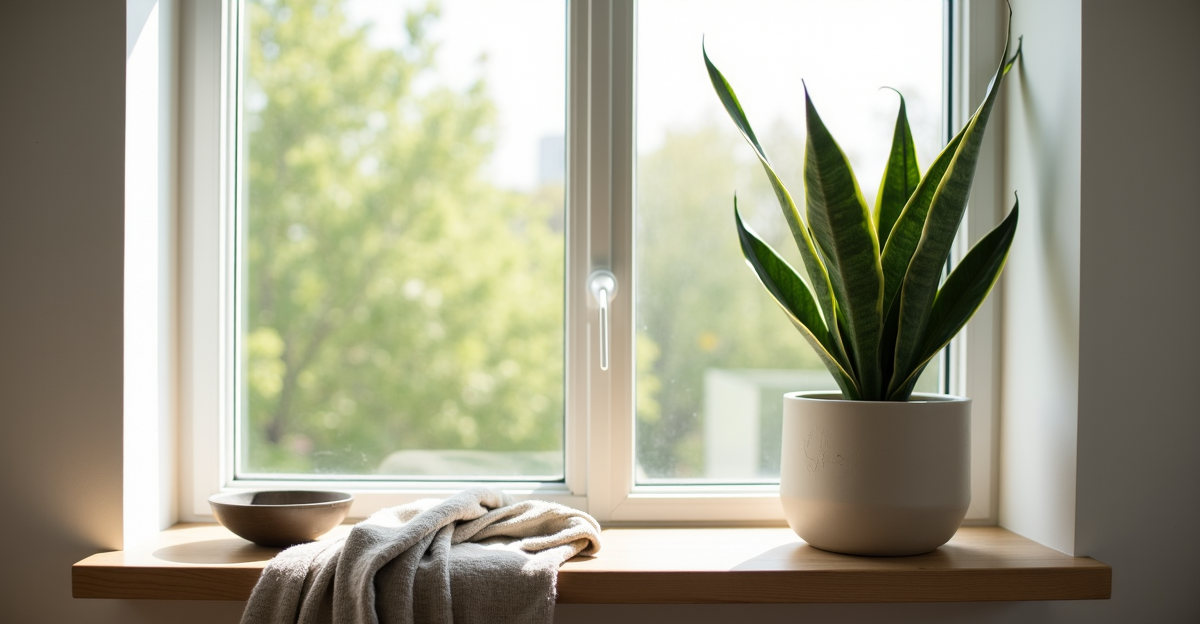
Why Your South Window Snake Plant Needs More Than Just Sunlight (and How to Style It Right)
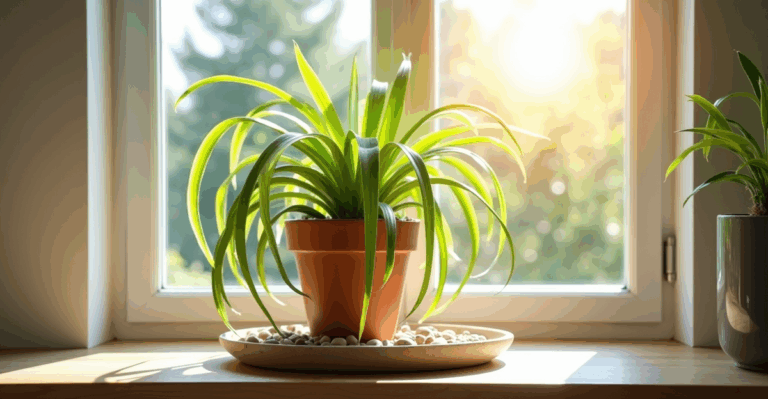
That crisp morning light hitting your south window isn’t just for coffee. It’s the perfect place for a snake plant—if you get the details right. But here’s the catch most of us learn the hard way: that intense, direct sun isn’t just a light source; it’s a slow-motion burn for the plant if you don’t manage it. I watched my own Sansevieria trifasciata develop crispy yellow edges last summer after I moved it right to the glass, thinking “more light = better.” Turns out, it was the worst spot. Snake plants thrive in bright light, yes, but they hate the searing, direct rays of a south window without some buffer. The good news? With a little strategy, that same window becomes your plant’s dream studio—where you can style it beautifully while keeping it healthy. No more scorch marks, no more guesswork.
Why “Bright Light” Isn’t Enough for South Windows
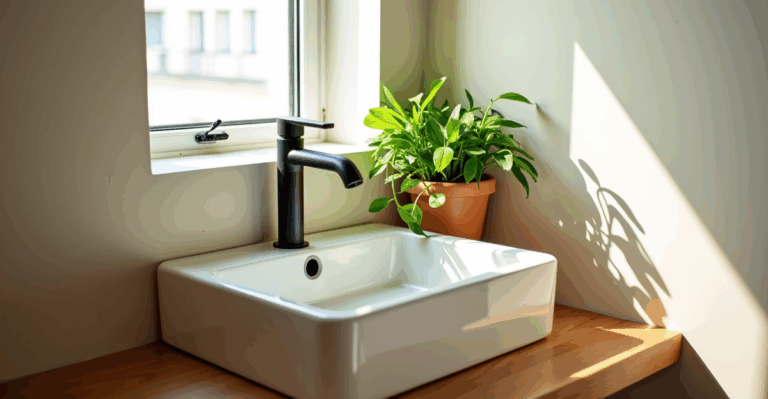
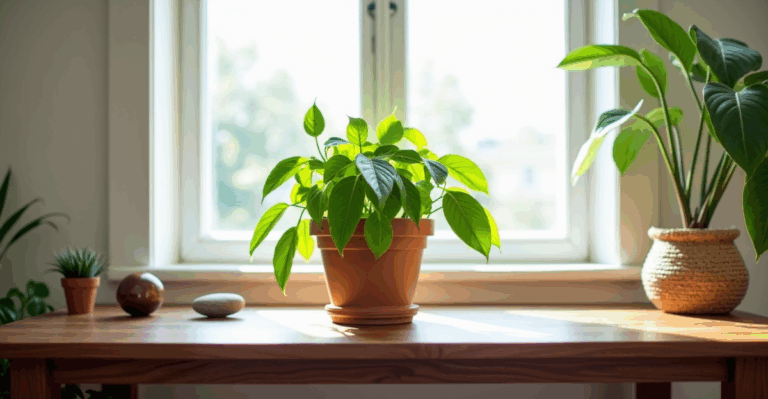
Most care guides say “snake plants like bright light.” But that’s like saying “you need water.” It’s true, but useless without context. In a south-facing window, the light isn’t just bright—it’s direct, intense, and changes dramatically throughout the day. In summer, it’s a full-power spotlight. In winter, it’s a cooler, less intense glow. The key isn’t just getting the light; it’s managing it so your plant isn’t baking. The most common mistake? Placing the plant directly on the windowsill. That’s where the scorch happens. Instead, position it 2–3 feet back from the glass, or use a sheer curtain to diffuse the harshest rays. Think of it like sunscreen for your plant—necessary, not optional.
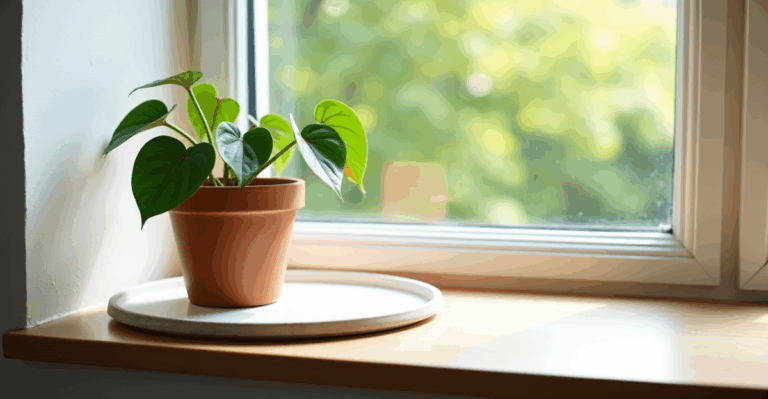
The Planter Paradox: Drainage vs. Aesthetics (and Why It Matters)
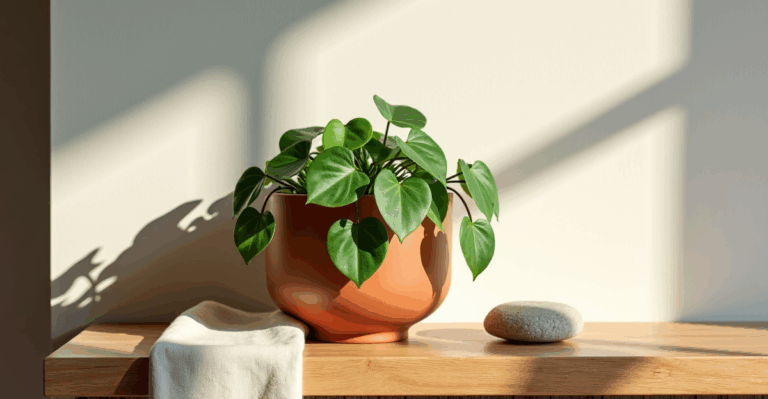
Your snake plant’s potting mix is only half the battle. The planter itself makes or breaks its health in a south window. Why? Because intense light + warm air = faster evaporation, which means the soil dries out quicker. But snake plants hate sitting in wet soil (even if the top inch feels dry). So, you need a planter that lets excess water escape but also holds moisture just enough to prevent rapid drying during hot days. This is where most beginners trip up. They choose a beautiful ceramic cachepot without drainage holes, thinking it looks elegant, and the plant suffers. The solution? Always pair a drainage pot with a decorative cachepot. A simple terra cotta or unglazed ceramic pot with holes goes inside a stylish ceramic or stone liner. The liner hides the drainage hole, keeps the soil from drying out too fast, and protects your surfaces. For a south window’s warmth, a terra cotta pot is ideal—it breathes better than plastic and wicks moisture away. Avoid plastic self-watering pots; they’re great for low-light plants but can lead to root rot in bright, drying conditions.
Real-Life Example: My friend tried a sleek, solid-polymer planter for her snake plant on a south window. She watered it like usual, but by week two, the roots were mushy. Switching to a terra cotta pot with drainage (inside a matching ceramic liner) fixed it in weeks. The plant stabilized, and the aesthetic? Still clean, modern, and functional. No more “cachepot trap.”
Styling Your Snake Plant: Beyond the Basic Pot
Let’s get real: snake plants are sculptural. They’re not just filler—they’re statement pieces that deserve to be seen. In a south window, they become living art. Here’s how to style them without sacrificing care:
- The Vertical Accent: Snake plants grow tall and upright. Mount a single plant on a floating shelf 18–24 inches back from the window (not on the sill!). This showcases its height and creates a dramatic focal point. Pair it with a trailing pothos in a trailing planter below for textural contrast. Why it works: The shelf keeps the plant out of direct sun while letting light reach it, and the height adds dimension without clutter.
- The Low-Layered Trio: Place three snake plants of varying heights (a tall one in the back, medium in the middle, short in front) on a wide, low shelf. Use a single planter style (like a minimalist concrete pot) to unify them. Why it works: South light is intense, so grouping them slightly offsets the glare (they’ll still get light, just not directly on the same spot). The shared pot style creates calm, not chaos.
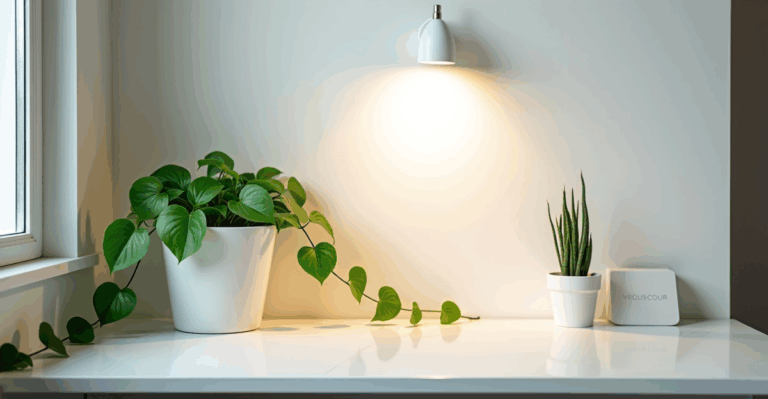
- The Wall Planter Pair: Mount two identical, narrow wall planters (one above the other) on the wall beside your south window. Fill the top one with a snake plant and the bottom with a smaller, trailing plant like Epipremnum aureum (pothos). Why it works: It uses vertical space, avoids blocking the window, and the wall planters keep the light consistent for both plants. The snake plant’s height balances the pothos’ flow.
Pro Tip: Always place a small, decorative tray under the drainage pot to catch excess water. This protects your shelf or table and makes cleanup effortless. For south windows, I keep a tray with a subtle geometric pattern (like a small ceramic one) under every pot—it’s practical but adds a subtle design layer.
Troubleshooting the South Window Snag (Without Overcomplicating It)
Snake plants are resilient, but south windows test them. Here’s what to watch for:
- Yellow or Brown Tips: Not just sunburn (though that’s common). Often, it’s overwatering combined with intense light. Water only when the top 2–3 inches of soil are dry (use a finger test!). In summer, this might mean once every 2–3 weeks. In winter, maybe once a month. If tips are already yellowed, just trim the tips off with clean scissors—no need to repot.
- Slow Growth (or No Growth): Snake plants grow slowly anyway. But if you’re in a south window and it’s not growing at all, it might be too much light. Move it back 6–12 inches from the window or add a sheer curtain. They grow better in bright, indirect light than direct sun.
- Root Rot: This is rare with snake plants but possible if you overwater in a poorly draining pot. If the soil is soggy and the leaves are soft, gently remove the plant, trim any mushy roots, repot in fresh, well-draining mix (cactus mix works great), and a pot with drainage. Trade-off: Repotting can stress the plant, so only do it when absolutely necessary.
Why Your 3D-Printed Planter Is the Secret Weapon
You’ve got the window, the light managed, the potting mix right. Now, the last piece of the puzzle? The planter itself. It needs to work with your style and your plant’s needs—without adding weight, hiding drainage, or breaking the bank. Traditional ceramic or plastic pots often miss the mark: too heavy for shelves, too uniform, or lacking the right shape for your space.
This is where our 3D-printed planters come in. We’ve designed them to be lightweight (so you can move them easily to adjust for sun), perfectly sized for snake plants (never too big, never too small), and built with drainage in mind—so you never have to worry about water sitting in a pot. The textures and shapes are modern but subtle, so they blend with any aesthetic, from minimalist to earthy. They fit seamlessly into our recommended setup: a drainage pot inside a decorative liner. And they’re made to order, so you get a piece that actually fits your shelf, your wall, your south window.
We use them in our own shop displays. They look sharp, they work reliably, and they make styling feel effortless—no more hunting for pots that almost work.
Key Takeaways
– Position snake plants 2–3 feet back from a south window (or use a sheer curtain) to avoid scorch.
– Always use a drainage pot (terracotta is ideal) inside a decorative cachepot—never a non-draining pot.
– Water only when top 2–3 inches of soil are dry; south windows dry soil faster, but snake plants hate wet feet.
When you’re ready to grow your setup, explore our 3D-printed planters.