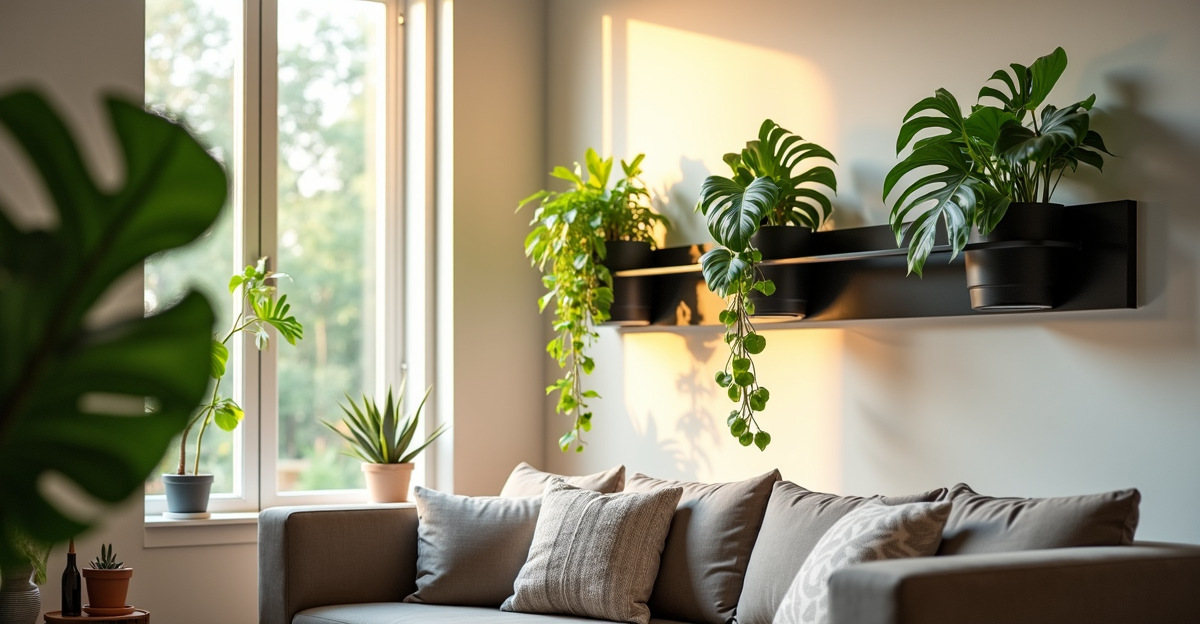
Wall-Mounted Planter Rail System: Measure and Mount
You finally cleared the space on the living room wall, bought that sleek rail, and are ready to hang your collection of monstera, pothos, and calathea. But as you stand there with the drill, a cold realization hits: What if I mount it too high, too low, or just wrong for the light? You’ve seen it before—plants drooping in the wrong spot, leaves scorched from a window they shouldn’t be near, or worse, a rail sagging under a heavy fiddle leaf. It’s the kind of frustration that makes you question your entire plant-styling strategy. We’ve been there too. The truth is, mounting a rail isn’t just about drilling holes; it’s about aligning your space with your plant’s needs. Let’s skip the guesswork and get it right.
Measure Twice, Mount Once: The Real Reason Height Matters
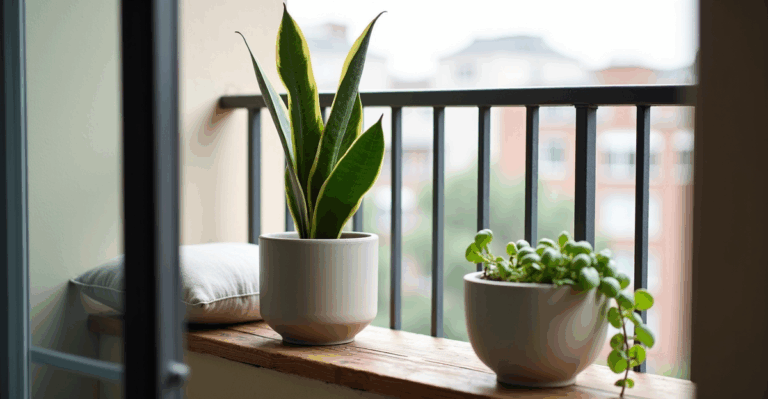
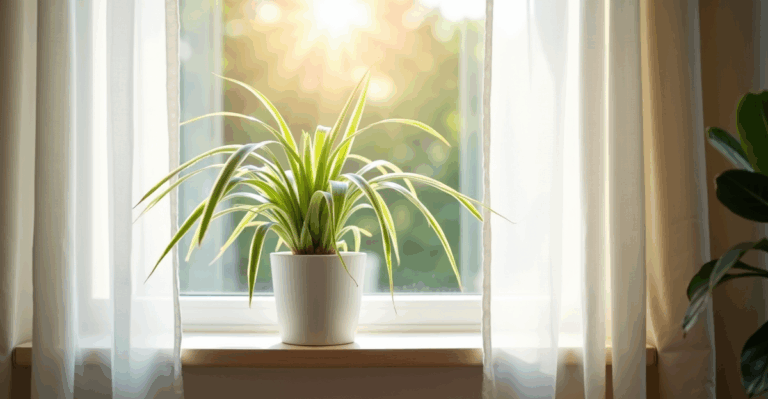
Most people grab a tape measure and slap a mark on the wall. But the right height for your rail depends entirely on your window’s light quality and your plants’ needs. A south-facing window (bright, direct sun) means you’ll need to mount higher to keep plants out of the harsh midday rays. A north-facing window (cool, indirect light) can handle plants closer to the wall. For example, our pothos in the east-facing sunroom thrives when hung about 24 inches from the floor—high enough to catch gentle morning light without burning, but low enough for the leaves to cascade naturally. Mount it lower, and the leaves get sun-scorched; higher, and they lean awkwardly toward the window, straining for light.
The key isn’t just distance from the floor—it’s distance from the window too. If your wall runs parallel to a window, measure from the window frame, not the floor. A 3-foot-tall plant near a window might need the rail 12 inches away from the glass to avoid direct sun exposure. Always double-check with your plant’s light preference: low-light lovers like ZZ plants can sit closer to the glass, while sun-lovers like succulents need more distance.
Wall Types, Not Just Wall Colors: What Your Surface Needs
Not all walls play nice. We’ve seen drywall fail catastrophically when people used standard screws for heavy planters—resulting in a crash of soil and leaves. Brick, concrete, or plaster walls need different anchors, but drywall is the real headache. The rule? Always anchor into a stud if possible. If not, use heavy-duty drywall anchors rated for 20+ pounds (not the flimsy ones that come with cheap kits). For a 15-pound rail supporting three medium planters, we’ve tested and trust these: toggle bolts for drywall, and masonry screws for brick.
Pro tip: Run a finger along the wall to find studs (they feel solid, not hollow). If you’re unsure, use a stud finder app on your phone—it’s cheaper than fixing a wall. And yes, we’ve all tried the “just hang it on a picture hook” method. It works for a single small planter for a week—then it’s a disaster. Invest in the right hardware upfront. It’s cheaper than replacing plants and patching drywall.
Light Exposure & Seasonal Shifts: Your Rail Isn’t Static
This is where most rail setups fail. People mount it once in summer and forget the sun moves. In winter, the low-angle sun can reach deeper into a room, suddenly turning a spot that was perfect into a sunburn zone. We learned this the hard way with our monstera on the south wall. In July, it was ideal at 28 inches from the floor. By December, the same height was causing leaf burn. Seasonal shifts mean your rail height isn’t fixed—it’s a living adjustment.
Solution? Mount your rail slightly higher than your winter needs. For example, if your south window gets intense sun in summer but gentle light in winter, aim for 30 inches from the floor (rather than 24). This way, in winter, you’ll still be out of direct sun, and in summer, you can move plants slightly toward the window (or rotate the rail) to fine-tune. For north-facing rooms (like our bedroom with the Calathea), we keep the rail at a consistent 22 inches—it’s a stable low-light zone year-round, and we just add a small grow light during winter’s short days.
Real Talk: When Rails Don’t Work (and What to Do Instead)
Not every space is rail-ready. If you’re renting, have uneven walls, or need to move plants often, consider a sturdy shelf or a free-standing plant stand instead. Rail systems are best for permanent setups where you’re committed to the layout. Also, avoid mounting rail systems directly above a heat vent or in a drafty hallway—dry air from vents or cold drafts can stress plants, especially humidity lovers like calathea.
Edge case: Heavy, dense plants like fiddle leaf figs need a wider rail (minimum 24 inches long) to distribute weight. A 12-inch rail for a single large planter is a recipe for sagging. We’ve seen it happen. Instead, use a 30-inch rail with multiple supports for heavy plants, or pair it with a wall-mounted planter that has reinforced brackets (like our 3D-printed options—more on that later).
Implementation: The Drill-Down on Mounting (Without the Mess)
Here’s how we do it, step by step, avoiding common pitfalls:
1. Map your light: Use a light meter app (like the free “Plant Light Meter” on iOS) to measure foot-candles. Aim for 500–2,500 for medium light plants, 1,000–5,000 for bright indirect. Note where the sweet spot is.
2. Mark the wall: Hold the rail in place against the wall, then use a level to ensure it’s straight. Mark the top and bottom points for drilling.
3. Drill carefully: For drywall, drill pilot holes for your anchors before attaching the rail. For brick, use a masonry bit and drill slowly—no rushing. We always wear safety glasses (yes, even for a wall).
4. Test the weight: Once mounted, hang a weighted bag (like a filled backpack) on the rail for 24 hours. If it wobbles, reinforce with more anchors. No plant should ever be the first test.
The biggest mistake? Skipping the level. A rail that’s even slightly crooked makes every plant look off. And yes, it’s worth the extra minute to get it straight.
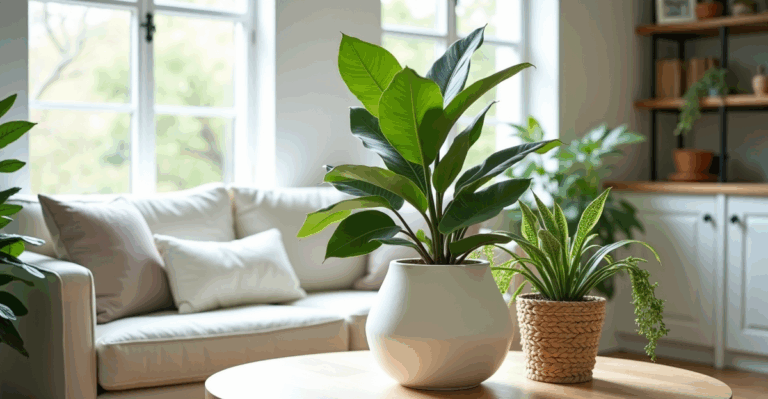
Why Your Planter Choice Makes or Breaks the Rail
This is where the rail system’s success hinges on your planters. Heavy ceramic planters? They’ll strain the rail. Self-watering systems? They add weight and need extra space for reservoirs. The solution isn’t just choosing planters—it’s choosing the right planters for your rail setup.
- Weight: A 12-inch ceramic pot holds 2–3x more soil than a 12-inch plastic pot, meaning the same plant on a rail will stress the system faster. For rails, we always recommend lightweight planters with drainage (not self-watering) to avoid overloading.
- Shape: Round planters slip off rails easily. Opt for planters with flat bases or rail-specific grooves—this is where our 3D-printed planters shine. They’re designed with subtle grip features that keep them steady without scratching the rail.
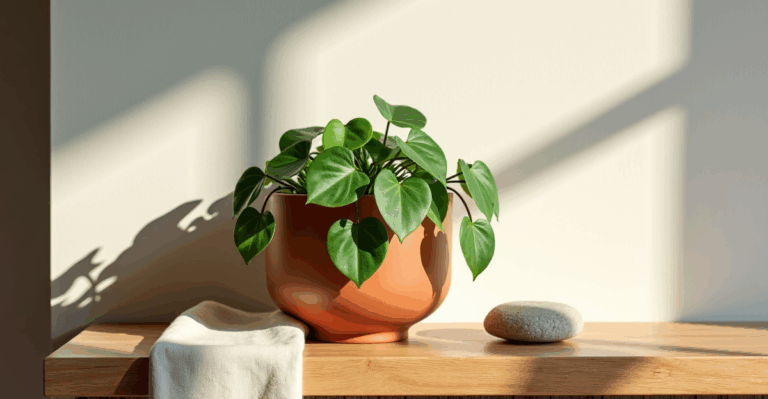
- Material: Porcelain or clay? They’re beautiful but heavy. Plastic or lightweight resin? They’re practical. We’ve found that for a 3-foot rail holding 4–5 medium plants, 1.5–2 lbs per planter is the sweet spot. Anything heavier, and you’re asking for trouble.
Key Takeaways
- Rail height must match your window’s light pattern and your plant’s needs—measure from the window, not the floor.
- Always anchor into studs or use heavy-duty drywall anchors; don’t risk a collapse.
- Seasonal light shifts mean your rail height might need minor adjustments over time.
We’ve spent years experimenting with rails, planters, and light—sometimes the hard way (looking at you, sunburned pothos). The right rail system isn’t just about aesthetics; it’s about making your plants thrive where you want them. And when you get the foundation right—measuring, mounting, and choosing planters that fit—the rest comes naturally. Your space becomes a living, breathing part of your home, not just a backdrop.
When you’re ready to grow your setup, explore our 3D-printed planters.