Spider Plant in a West-Facing Room: Low Light Setup That Works (Without the Burn)
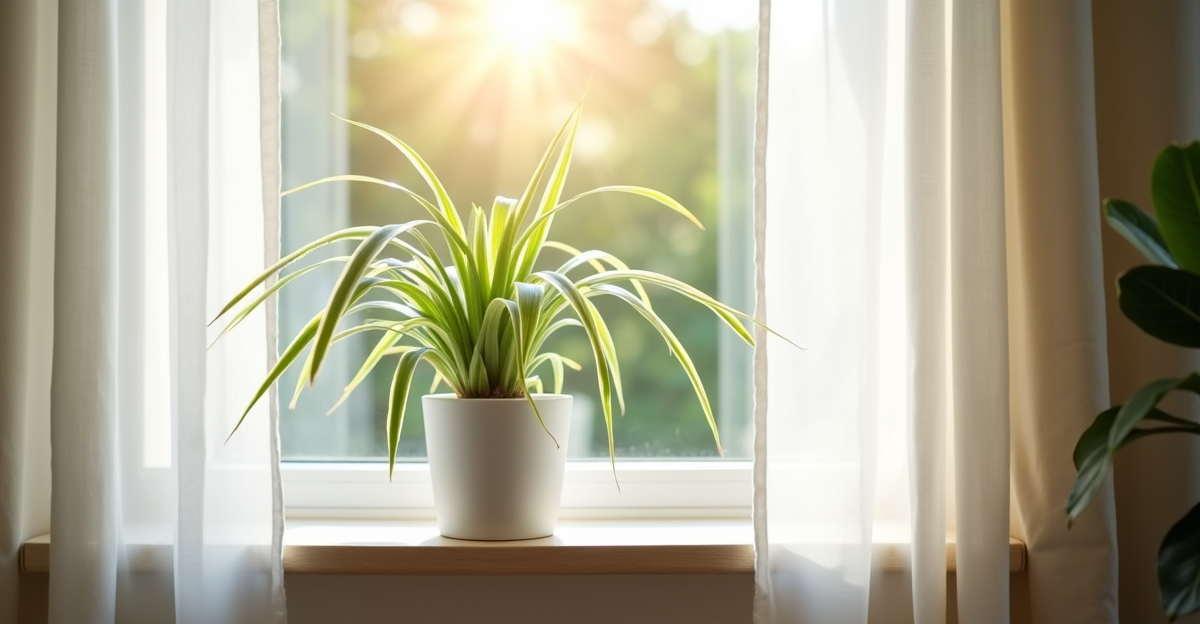
We’ve all done it. You find the perfect spot for your spider plant—a west-facing window ledge, sunny and seemingly ideal. Then, within a week, you notice the tips curling, turning brown, and the once-vibrant green leaves looking like they’ve been through a desert heatwave. You panic. Did I kill it? Spoiler: You probably didn’t. The culprit wasn’t your care—it was the type of light hitting that west-facing window. That fierce, direct afternoon sun is a spider plant’s nightmare, not its dream. But here’s the good news: the same west-facing room can become a perfect low-light sanctuary for your spider plant—if you understand how to work with the light, not against it.
West light isn’t “low light.” It’s high-intensity, harsh light at the wrong time. Most beginner guides oversimplify this. They’ll say “east or west is great for spider plants,” but that’s a trap. A west window at 3 PM in summer? That’s 1000+ foot-candles—more than enough to scorch. In winter, the same window might get 200 foot-candles, which is actually too dim. The key isn’t avoiding west light entirely. It’s redirecting it to create the bright-indirect environment spider plants crave (roughly 500–1000 foot-candles). Think of it like finding the sweet spot in a sun-dappled forest, not hiding in the dark.
Why Your West Window is (Surprisingly) Perfect for Spider Plants—When Done Right
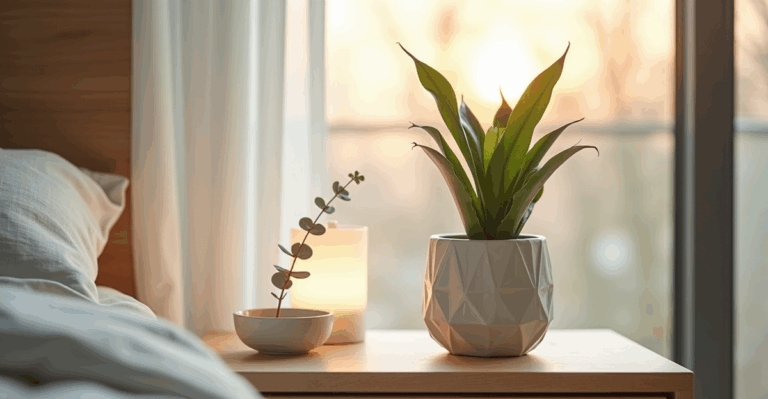
Let’s be real: spider plants are resilient. They’ll tolerate a lot. But they thrive in bright-indirect light—meaning light that’s strong but diffused, like under a tree canopy. A west window gives you that potential, but the direct rays at peak hours are the problem. The solution isn’t to move the plant out of the room—it’s to move it within the room to create that diffused zone. Place it 2–3 feet back from the window, on a shelf or table. Better yet, use a sheer curtain (like a light linen or voile) over the window to soften the sun’s edge. If your window faces west and you have a tall plant or bookshelf in front of it, that’s your natural diffuser. The light bounces off the objects and hits the spider plant gently. This is how we set up our own west-facing home office—our spider plants are thriving on a shelf behind a stack of books, far from the direct line of fire.
The Low-Light Setup: Placement, Light, and Watering in Harmony
Placement is everything. Forget the windowsill. Aim for a spot where the light is strong but not direct. The “shadow test” is your friend: hold your hand about 12 inches above the plant. If the shadow is blurry and weak, it’s perfect. If it’s sharp and defined, it’s too bright. In a west-facing room, your best spots are:
– 3–4 feet back from the window on a mid-height shelf (not the floor).
– On a side table angled away from the window.
– Behind a taller plant (like a peace lily or snake plant) that blocks the direct rays.
Watering changes with the light. In lower light, your spider plant grows slower and uses less water. Don’t water on a schedule—check the soil. Stick your finger 2 inches deep: if it feels dry, water thoroughly until it drains out the bottom. If it’s still moist, wait. In a west-facing room with proper placement, this might mean watering every 2–3 weeks in winter (vs. weekly in spring/summer). Overwatering is the real killer here, not the light. The cooler, dimmer conditions slow evaporation, so soil stays wet too long. We’ve seen plants rot from “good intentions” of watering too often.
Why Planter Choice Makes or Breaks the Setup
This is where most setups fail: using a planter with no drainage. In low light, wet soil = root rot city. Always, always use a pot with drainage holes. If you love the look of a decorative cachepot, use a liner pot inside it—just remember to empty any excess water from the cachepot after watering. Self-watering pots? Skip them. They keep soil too wet for low-light spider plants.
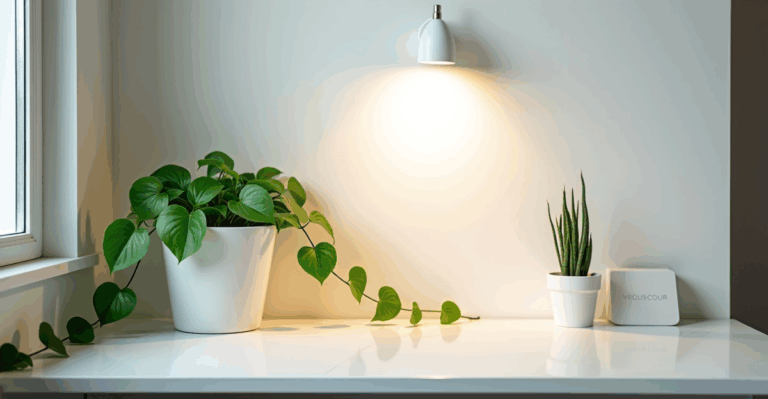
We’ve tested hundreds of planters, and the right material matters too. Terracotta dries faster but can feel cold in cooler rooms. Ceramic holds moisture a bit more (good for lower light). 3D-printed planters are a game-changer here because they’re engineered for the exact needs: lightweight but sturdy, with hidden drainage channels that work with any liner, and finishes that let the plant shine. No more worrying if your heavy ceramic pot will tip over on a shelf or if the planter will trap water. The right planter isn’t just pretty—it enables the care.
Real-World Example: Our West-Facing Home Office
Our office has a west window, but it’s small and gets intense afternoon sun. We don’t put plants directly on the sill. Instead, we have a 3-foot shelf 3 feet back. On that shelf: a spider plant in a lightweight 3D-printed planter (with drainage), flanked by a small fiddle leaf fig (which tolerates the same light) and a taller snake plant (which blocks the harshest rays). The spider plant gets bright, indirect light all day. We water it when the top 2 inches feel dry—usually every 10–14 days in winter. It’s been thriving for 3 years. The key? The placement created the low-light (meaning diffused, not dim) environment it needs. The 3D-printed planter? It’s the perfect size for the shelf, doesn’t feel bulky, and the smooth finish hides the drainage holes neatly. No more water rings on the shelf, no heavy pot to move.
Edge Cases & What to Watch For
If your west window is too small or shaded: Your plant might not get enough light. If leaves start turning yellow or growth slows despite proper watering, you’ll need supplemental light. A simple LED grow light (like our 6-inch, 5000K bulb) on a timer for 2–3 hours in the morning works wonders. Place it 12 inches above the plant. Don’t use a bright bulb all day—it’ll stress the plant.
If you have no space to move the plant: A sheer curtain is your best friend. Hang it over the window (not blocking the glass) to soften the direct rays. It won’t block as much light as a heavy blackout curtain, just diffuse it. Test it by checking the shadow again—blurry means it’s working.
Hard water buildup? If you see white crust on the pot or soil, flush the plant monthly. Run water through the soil until it drains freely from the bottom. This removes excess minerals that can stunt growth.
Final Tips for a Perfect West-Facing Setup
- Track seasons: In summer, move the plant back a foot or use the curtain more. In winter, it might need a bit more light—consider a temporary grow light if growth stops.
- Avoid air vents: West-facing rooms often get warm air from AC or heating. Spider plants prefer stable, humid air. Keep them away from vents.
- Style it: Use the shelf or table as a stage. Place the spider plant in a 3D-printed planter with a subtle texture (like a matte white or soft green), and add a small trailing pothos in a matching planter on the lower shelf. It creates depth without clutter.
- Check for pests: Low light + moist soil can attract fungus gnats. Let the top inch of soil dry between waterings, and use sticky traps if needed. No harsh sprays—spider plants are sensitive.
We’ve learned that spider plants in west-facing rooms aren’t a problem—they’re a solution waiting for the right setup. It’s not about finding a “low-light” window (because west isn’t low-light—it’s overly bright). It’s about creating low-light conditions within that space. The right placement, watering, and planter turn a potential disaster into a thriving centerpiece. And honestly? The joy of seeing that spider plant send out healthy runners in a spot where others would have failed is unmatched.
When you’re ready to grow your setup, explore our 3D-printed planters.