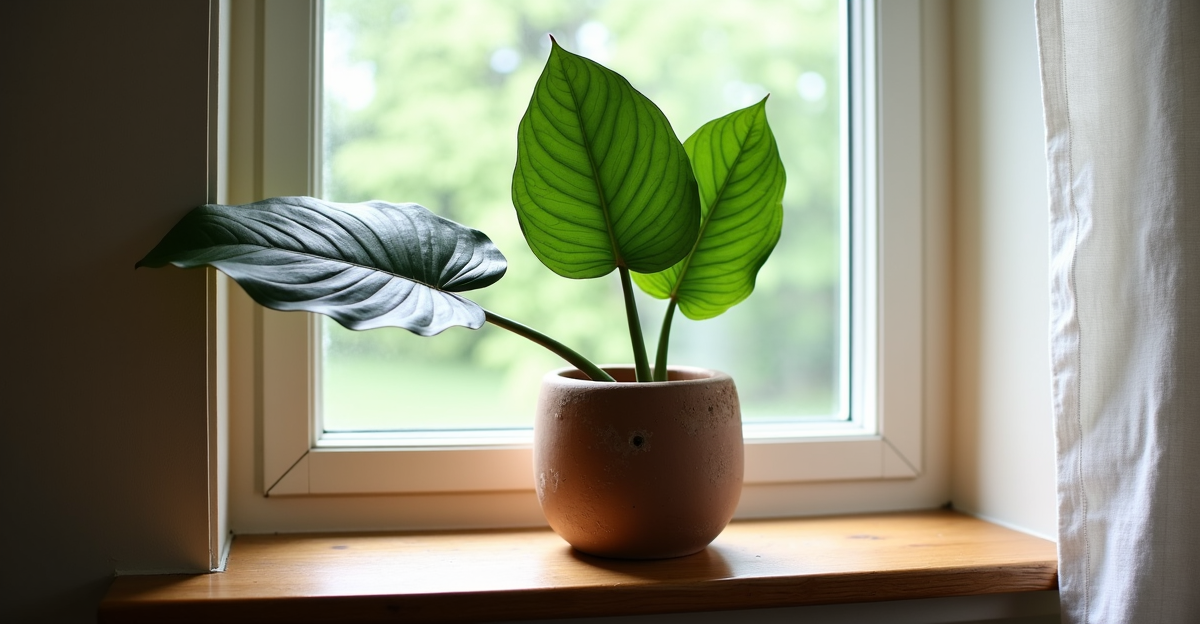
Alocasia in a North-Facing Room: Drafty Window Setup That Works
That moment when you finally find the perfect spot for your Alocasia—only to realize the window rattles in the wind and the air feels like a chilly draft every time it opens? We’ve all been there. You move your elephant-ear plant to the north-facing window, hoping for that gentle, diffused light it craves, only to watch its leaves droop and the soil stay perpetually soggy. It’s a common trap: north windows seem ideal for low-light lovers, but that uncontrolled draft is the silent killer. It’s not just about the light—it’s about how the cold air disrupts the delicate balance between moisture, humidity, and your plant’s metabolism. But here’s the good news: with a few smart tweaks, your north window can be a thriving haven for Alocasias, not a death sentence. You just need to outsmart the draft.
Why Drafts Are Worse Than You Think (And Why North Light Isn’t Enough)
Most advice says, “Avoid cold drafts,” but it rarely explains why a draft is uniquely brutal for Alocasias in low-light settings. Cold air doesn’t just chill your plant—it drastically slows down its transpiration (how it moves water and nutrients). Your plant wants to pull moisture from the soil, but the cold air makes it reluctant to do so. The result? Water sits in the pot for days, while the plant still needs humidity. It’s a double whammy: soggy roots and dry air. Meanwhile, north light is often too dim to fuel the plant’s energy needs, making it even more vulnerable. The myth? That “low light = less water.” Not true. Low light plus cold drafts = overwatering in disguise.
The Core Fix: Balance Cold Air, Light, and Humidity (Without a Heater)
Forget trying to “warm up” the room—it’s inefficient and risks drying out your plant further. Instead, we work with the draft. Here’s how:
- Create a Microclimate Buffer: Place a small, sturdy planter behind your Alocasia (not directly against the glass). We use a 1-inch-thick, non-porous piece of reclaimed wood or a folded bath towel between the plant and the window frame. This blocks the coldest air from hitting the leaves and soil directly, while still allowing light in. It’s like giving your plant a tiny, cozy windbreak.
- Optimize Watering for the Low-Light/Draft Combo: In this setup, let the top 2–3 inches of soil dry out completely before watering. Never water based on a schedule—check the soil. Drafts make soil dry slower than it would in a warm room, but low light means the plant uses water slower too. Overwatering here is the #1 killer. When you do water, do it thoroughly until it drains out the bottom (use a pot with drainage holes!), then empty the saucer immediately. Never let it sit in water.
- Boost Humidity Smartly: Alocasias need humidity (50%+), but cold drafts make air dry faster. We use a small, quiet humidifier on a timer (50% humidity, 3 hours/day), placed away from the direct draft line. A pebble tray under the pot also helps, but it’s less reliable in cold air—drafts blow moisture away. Avoid misting (it can cause fungal issues in cool, damp conditions).
Real-Life Example: Maya’s North Bedroom Alocasia
Maya’s bedroom has a narrow, drafty north window. Her Alocasia ‘Black Velvet’ was losing leaves and getting root rot. She tried moving it to a shelf 3 feet back from the window (thinking “less draft”), but the light was too dim, and the soil stayed wet. We fixed it by:
– Moving the plant 6 inches away from the window (not further back—just off the cold glass line).
– Adding a 1-inch foam board between the pot and the window frame (a $2 craft store find).
– Switching to a coarse, fast-draining mix: 50% potting soil + 30% pumice + 20% orchid bark. This mix dries out faster than standard soil, matching the slow transpiration.
– Using a humidity timer (set to run 2 hours in the morning when she’s awake).
Within 6 weeks, the new leaves were firm, and the old leaves stopped drooping. The key wasn’t “more light”—it was managing the cold air so the plant could use the light it already had.
Why Standard Planters Fail (And What Works)
Most ceramic or plastic pots are the problem. They hold moisture too well in low-light/drafty spots, and their weight makes them hard to move for the microclimate fix. Self-watering pots? Worse—they’re designed for warm rooms with high light, not a cold, dim window. They’ll drown your Alocasia.
The solution: A planter with strategic drainage and lightweight, neutral color to blend in. Think of it as a “stealth” piece that doesn’t compete with your room’s style but actually works. That’s why we love 3D-printed planters—they’re designed to match the specific needs of these tricky spots: lightweight enough to move easily, with hidden drainage channels, and smooth finishes that complement minimalist or modern decor. No bulky ceramic that traps moisture or heavy plastic that’s impossible to tweak.
Edge Cases & What to Watch For
- If your draft comes from a heating vent (not a window): This is a different beast. Heat vents dry air fast, so you’ll need a larger humidity buffer (like a small greenhouse cover at night) and more frequent watering checks. Drafty north windows are usually cold air—this is hot, dry air. Adjust accordingly.
- Your Alocasia still looks stressed after 8 weeks: The light might be too dim. North windows in winter can be very low light. Add a simple 5W LED grow light (12–16 inches above the plant, 6–8 hours/day) focused only on the leaves, not the whole room. Do not leave it on 24/7.
- Fungus gnats in the soil: Super common in overwatered setups. Flush the soil with plain water (run water through until it drains clear) and wait before watering again. Avoid adding more organic matter to the mix (like compost) until it’s fully established.
Implementation Tips (No Fancy Gear Needed)
- Test for drafts: Hold your hand 6 inches from the window glass. If it feels cold or windy, you need a buffer (like the foam board).
- Check soil moisture before watering: Stick your finger in. If it’s damp at 2 inches, wait. If it’s dry, water thoroughly.
- Use a clear saucer: Makes it easy to see when soil has drained and avoid letting water sit.
- Rotate the plant 1/4 turn weekly: North light is uneven. This prevents one side from growing toward the window.
- Avoid placing near vents or AC units: Even if they’re not directly on the window, they’ll create new drafts.
It’s Not Perfect, But It Works
Let’s be clear: A north-facing room with a draft is never the ideal spot for an Alocasia. It’s a compromise. But it’s a workable compromise. You won’t get the huge, glossy leaves of a south-facing window, but you will have a healthy, thriving plant that fits into a space where most would give up. It’s about adjusting expectations to match reality—no overpromising, just honest, practical care.
We’ve seen this setup save dozens of Alocasias in homes with no other good light options. It’s not fancy, but it’s reliable. And when you get it right, that moment when your plant unfurls a new, perfect leaf? Pure plant-lover magic.
Key Takeaways
- Drafts + low light = overwatering risk. Check soil moisture, don’t water on a schedule.
- Use a lightweight, well-draining mix (pumice/perlite-based) and block direct drafts with a buffer.
- Boost humidity strategically (timer humidifier, not misting) and rotate weekly.
When you’re ready to grow your setup, explore our 3D-printed planters.